Grace Flora Studio
  • Home
  • Portfolio
  • About
  • Blog
  • Contact

GRACE FLORA JOURNAL

An inside look at creating something beautiful

How to arrange a grocery store bouquet for Thanksgiving

11/11/2020

0 Comments


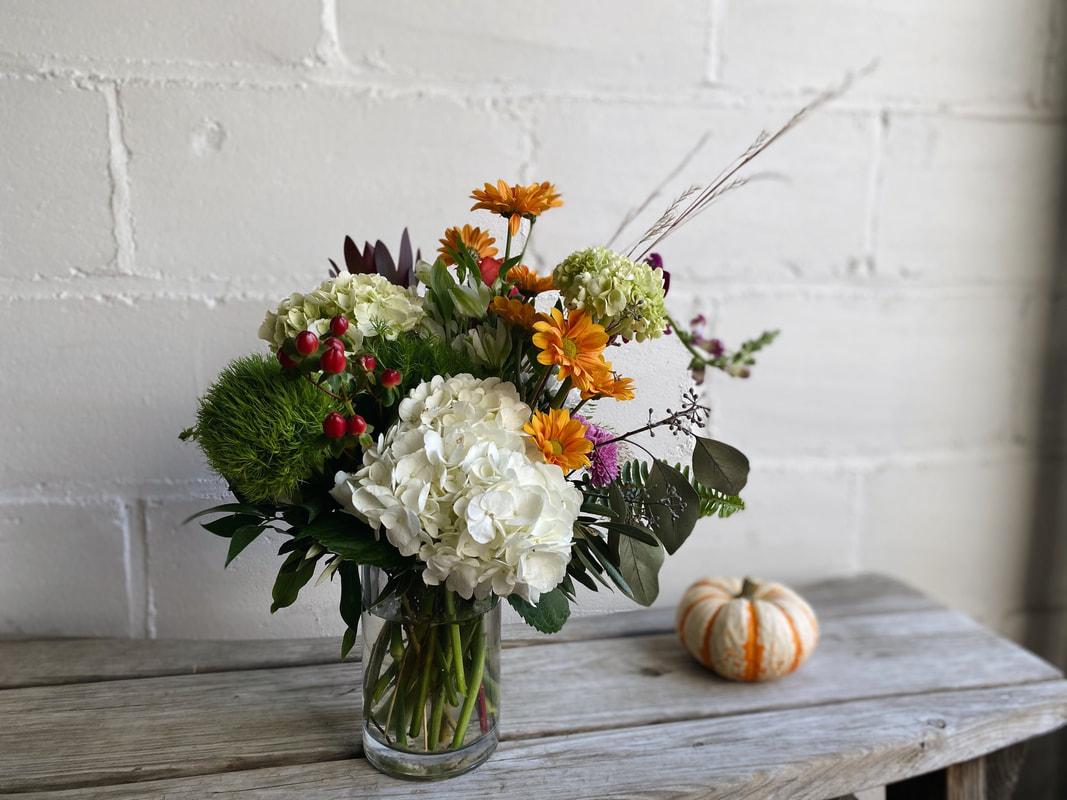
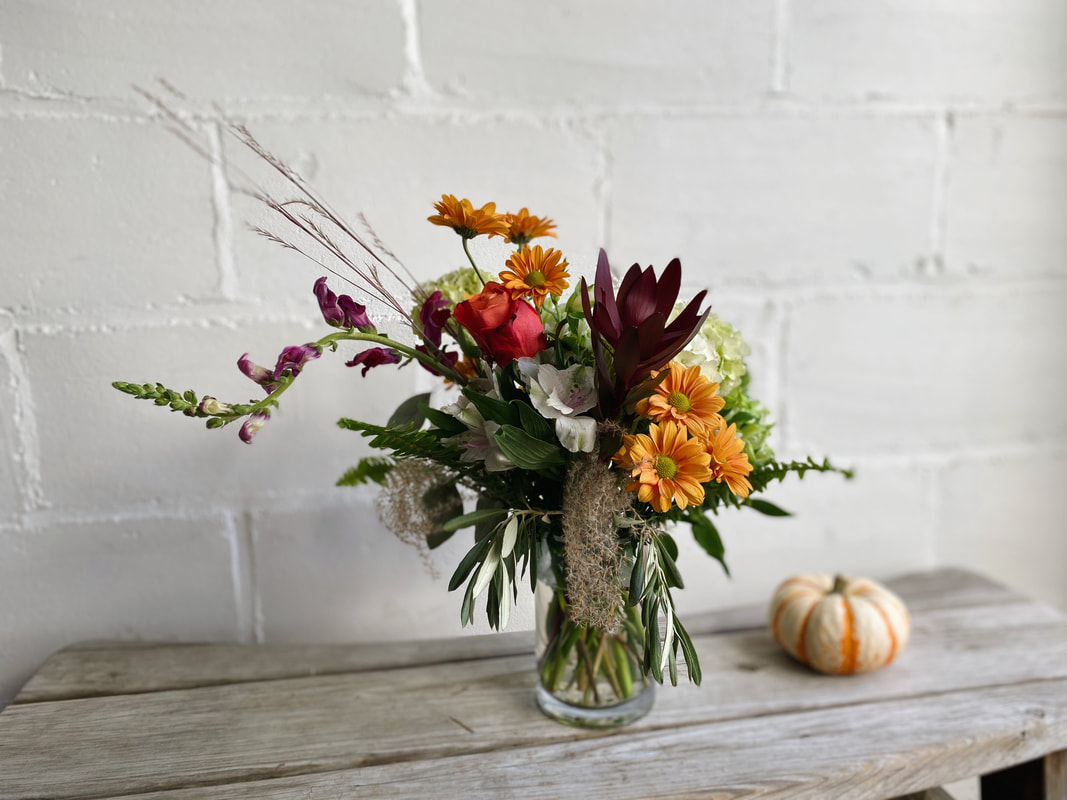
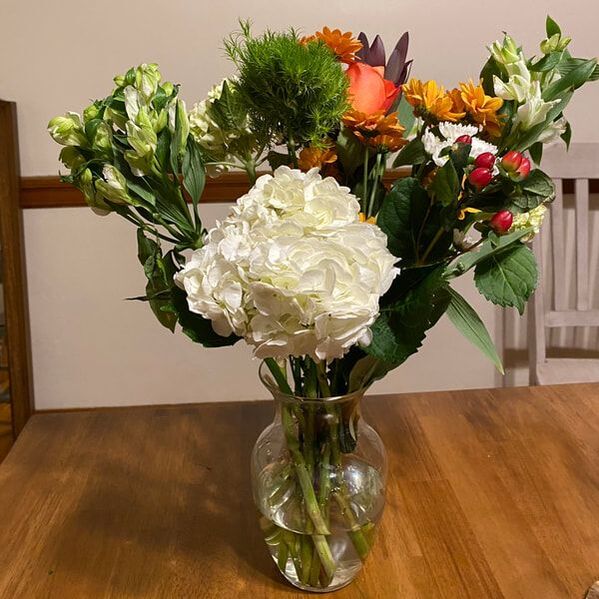
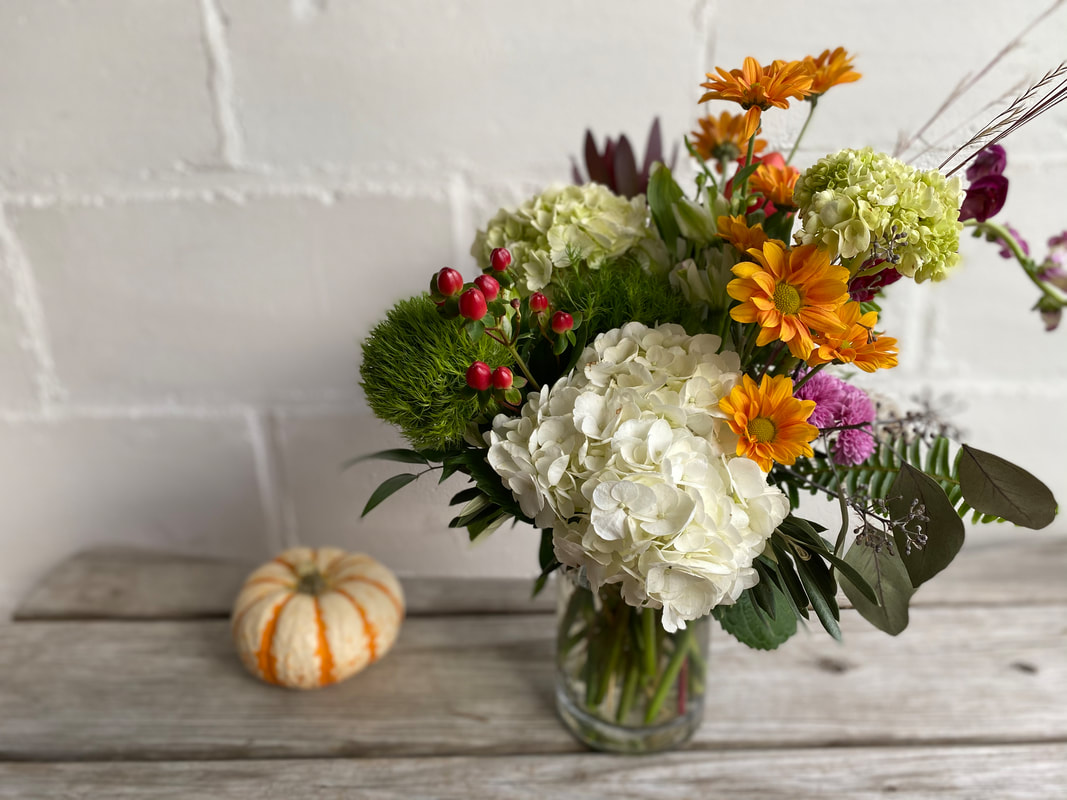
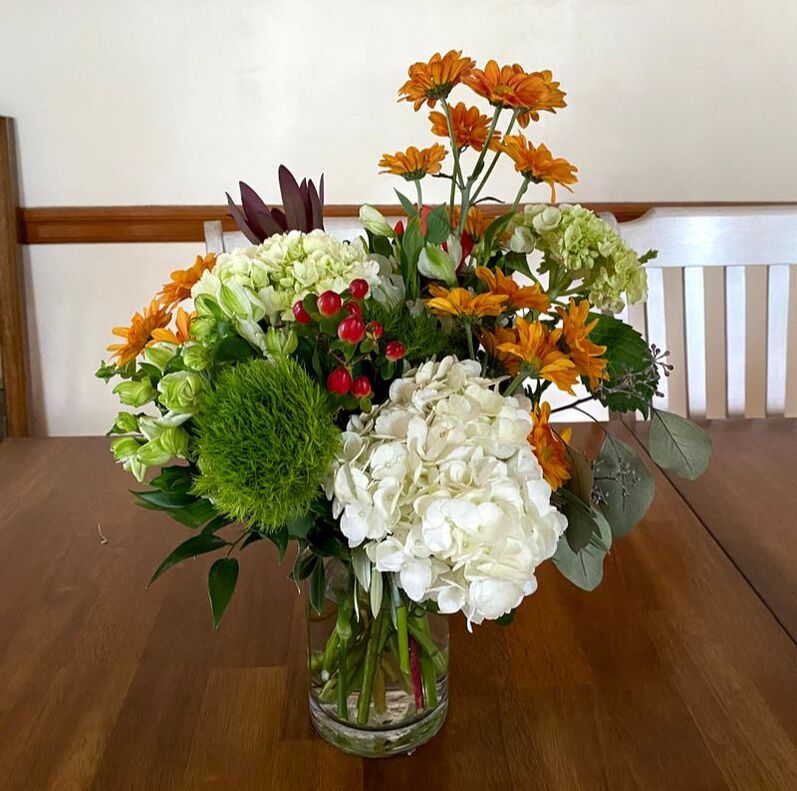
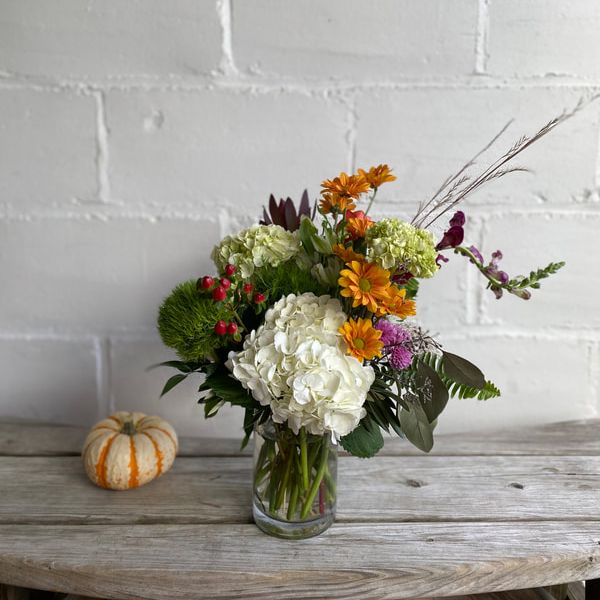
Transform a $20 grocery store bouquet into a Thanksgiving centerpiece

Picture
Picture
Holidays and birthdays have a looked pretty different in 2020 with smaller dinner gatherings, video calls and backyard visits... Even in the midst of a pandemic, I hope the spirit of celebration, family, and traditions won't stop you this season. If you normally decorate your house, decorate it! If you want to get flowers for your very intimate Thanksgiving dinner, do it! 

Grocery store flowers looking a little awkward?

I first had the idea of how to arrange grocery store flowers from my mom... (sorry mom). After a quick trim of the stems, she would plop it into a vase and it would look something like the picture on the right. Notice how most of the flowers are about the same height and it just looks a little stalky and awkward?
​
So mom (and everyone else), transform your grocery store bouquet into a beautiful Thanksgiving centerpiece with the steps below. 
Picture
There is hope to avoid this awkward, stalky look!

Taking your grocery store flowers to the next level
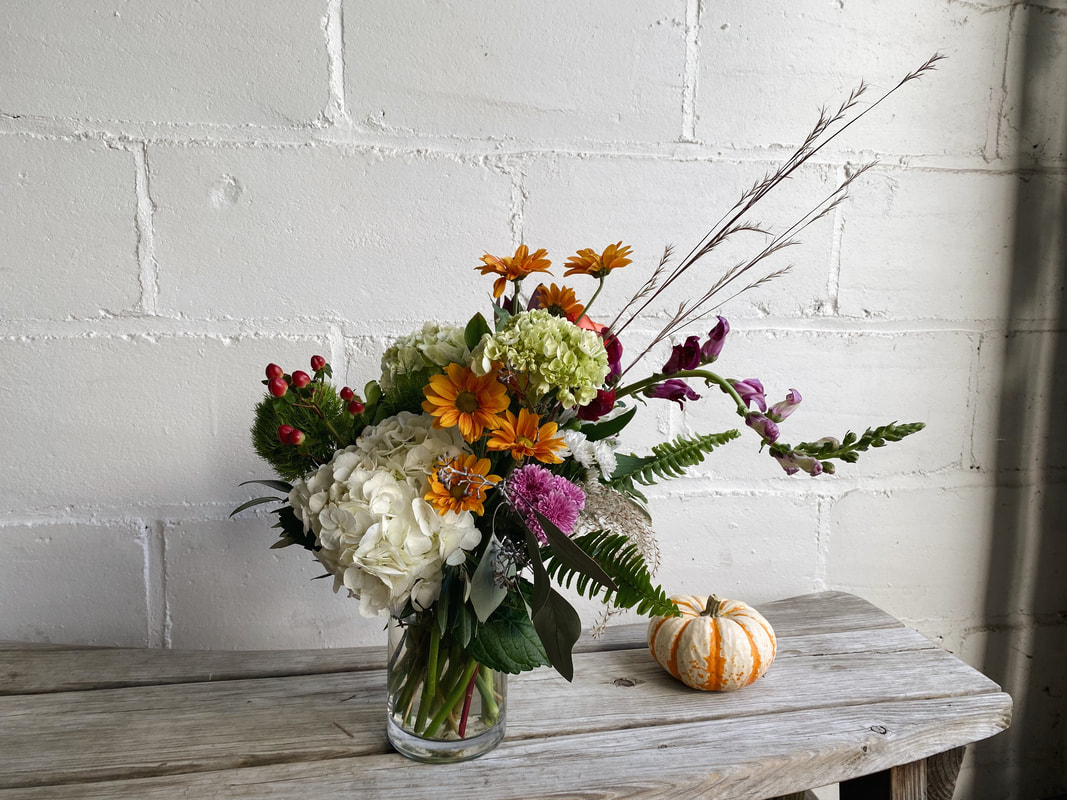
Picture
  • Using clear tape, make a grid across your vase. This will help keep the flowers in place.
  • Add greens to cover the tape. If your bouquet doesn’t have any, look for some around your house, backyard or outside! I cut some feathered grass from outside and sword fern from my house plant. 
Picture
When designing, keep bigger flowers near the bottom (i.e., white hydrangea) and group similar colors together (i.e., orange mums)
  • Add the biggest flowers closer to the bottom of your vase (i.e., white hydrangea). Add the smallest flowers closer to the top. This will help with balance.
  • Group similar colors closer together. This will avoid making flowers look polka dotty and will give it a more natural feel. 
  • Vary the height to add some movement. I like to have a “tall flower + tall green” on one side and a “medium flower + medium green" and "short flower + short green” on the other side. This also helps with balance and gives it a more professional, natural look.
  • The best piece of advice - take a break! If you're not totally pleased with something, THAT'S OKAY! Walk away, make a tea and THEN come back to tweak and adjust. (This can be so applicable to other aspects of our lives, right!). Some things to look for are holes, proportion and balance. See below for before and after photos of taking a break.  
Picture
The beauty of process. This was the arrangement BEFORE I took a break. Not super, but it was a good stopping point
Picture
This was AFTER I took a break. I ended up trimming flowers and added more "bendy" flowers
For the VIDEO tutorial, check out my Instagram post here! 
0 Comments


Leave a Reply.

    Archives

    September 2022
    April 2022
    March 2022
    October 2021
    July 2021
    April 2021
    March 2021
    January 2021
    December 2020
    November 2020
    October 2020

    Categories

    All
    DIY Wreath
    Elopement
    Floral Design
    Floral Education
    Floral Inspiration
    Flower Care
    Holiday Decor
    Holiday Gift
    Outdoor Wedding
    Spring Wedding
    Summer Wedding
    Wedding Tips

    RSS Feed

    Photography: Kelsey Converse Photography
Proudly powered by Weebly
  • Home
  • Portfolio
  • About
  • Blog
  • Contact