Grace Flora Studio
  • Home
  • Portfolio
  • About
  • Blog
  • Contact

GRACE FLORA JOURNAL

An inside look at creating something beautiful

How to Make a Modern Christmas Wreath

12/2/2020

0 Comments


DIY Fresh Christmas Wreath - Two Ways

Asymmetrical Christmas wreath
Symmetrical Christmas Wreath
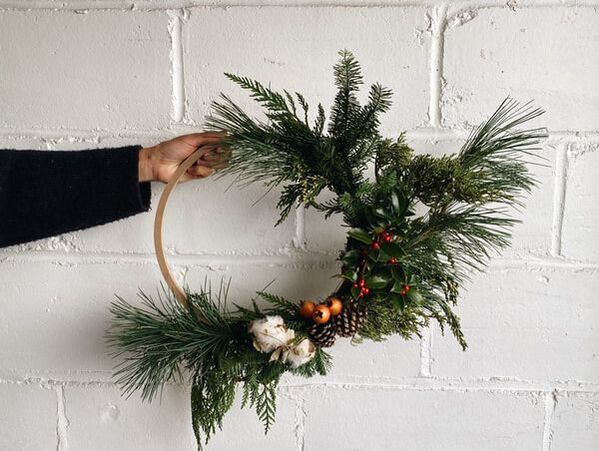
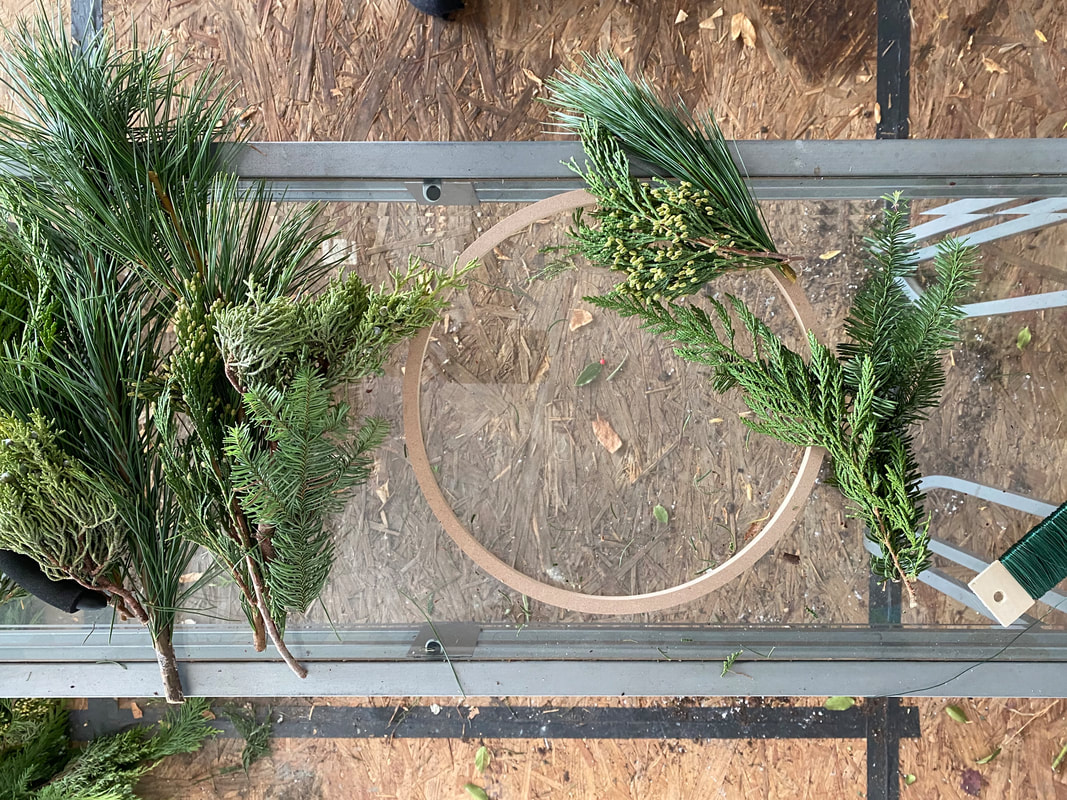
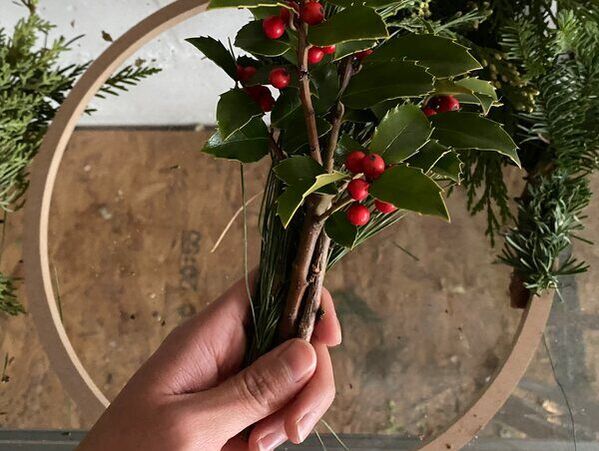
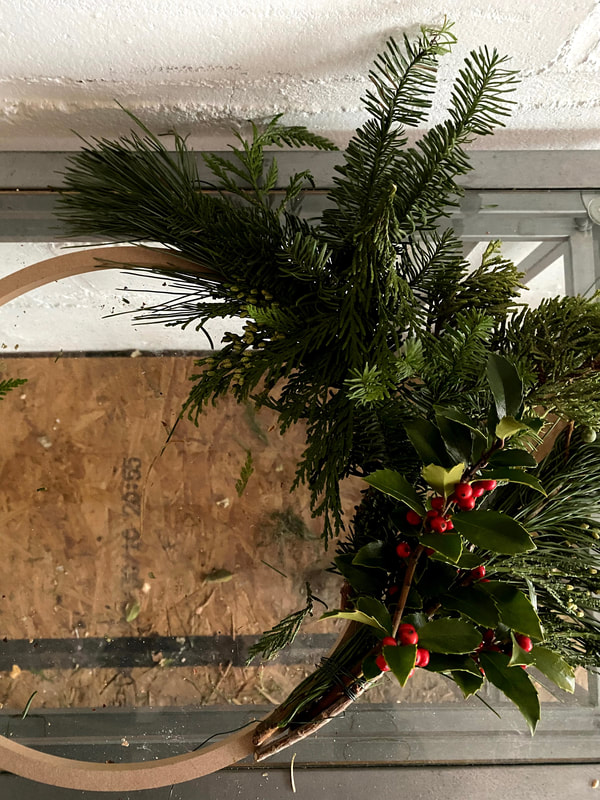
Last winter, I got to participate in a wreath making workshop at a women's event at my church and loved it!!! This year, I am going to show you two different ways of making a modern Christmas wreath with fresh evergreens and festive accessories. 

Style 1: Asymmetrical Woodland Wreath

DIY Woodland Christmas Wreath
DIY Christmas wreath materials
DIY Christmas wreath holly
DIY christmas wreath hoop
Find your concentration point. See step 4
DIY christmas wreath pinecone
Materials 
  • Floral hoop (I got 12" but would advise 14" - 18" for a front door)
  • Fresh evergreens trimmed to appropriate size (e.g., juniper, cedar, noble fir, white pine, arborvitae) 
  • Floral wire (~5m)
  • Shears
  • Wire cutter if you have 
  • Accessories: pinecones, holly, cotton, dried rose hips, feathered fern, ribbon 
Steps
  1. Start by envisioning how you want your wreath to look. Place your trimmed evergreens in the rough location on your wreath. For an asymmetrical look, you may want to try a few different spots to see where you want it to curve, where you want it lighter, and where you want it "bushier." 
  2. ​​Make a bundle with 2-3 different types of evergreen and hold it at the stem. Using your floral wire, wrap your bundle onto the desired spot on the wreath until it feels secure. DO NOT CUT THE WIRE.
  3. Make a second bundle and layer it over the first bundle so the bushy/top part covers the wire of the first bundle. Wire the second bundle as above and do not cut the wire. 
  4. Find your "concentration point" (see picture on the right). This is where the concentrated area of your decorations will be. For an asymmetrical look, you'll want the concentration point to be off centered (left or right corner). For the first two bundles, I wired the stems down and clockwise. When I got to the concentration point, I flipped my third bundle, so the stems of the third bundle were touching the stems of the second bundle. 
  5. Add more bundles so the stems are going up and counterclockwise. 
  6. When finished with the greens, add your accessories! You still should not have cut your wire! Again, place them in the rough area of the wreath before wiring it. If you are using pinecones, you can wire it through the little nubs carefully onto the wreath. 
  7. Wrap your wire a few more times to secure it and now you can cut it. Hang it on your front door and show off this winter beauty! 
Download the FREE handout

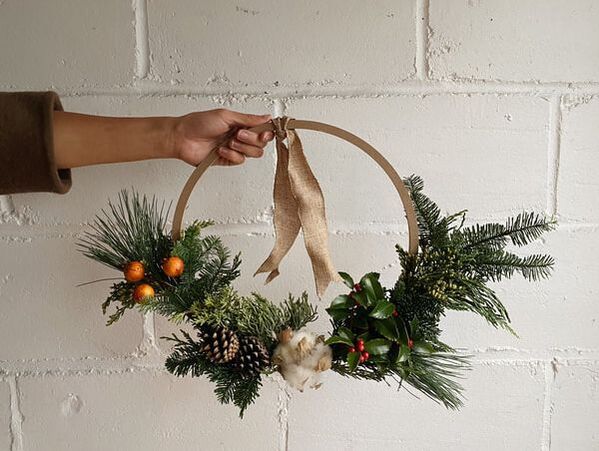
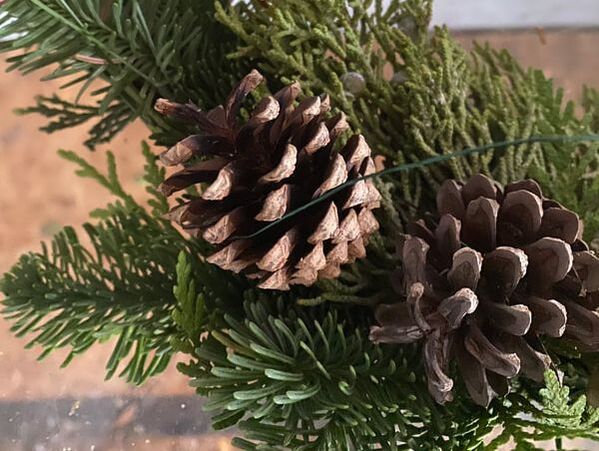
Style 2: Symmetrical Wreath with Mini Embellishments

Symmetrical Modern Christmas Wreath
Follow same steps as above. The only change you will make is step 4, in which your concentration point will be at the center of your wreath for a symmetrical look. I usually put pinecones and cotton to mark my concentration point. I also tied a ribbon in the center to finish the look. 

You can do it too!

DIY wreath workshop
Check out these amazing wreaths my friends made from my wreath making workshop!! 
0 Comments


Leave a Reply.

    Archives

    September 2022
    April 2022
    March 2022
    October 2021
    July 2021
    April 2021
    March 2021
    January 2021
    December 2020
    November 2020
    October 2020

    Categories

    All
    DIY Wreath
    Elopement
    Floral Design
    Floral Education
    Floral Inspiration
    Flower Care
    Holiday Decor
    Holiday Gift
    Outdoor Wedding
    Spring Wedding
    Summer Wedding
    Wedding Tips

    RSS Feed

    Photography: Kelsey Converse Photography
Proudly powered by Weebly
  • Home
  • Portfolio
  • About
  • Blog
  • Contact